You may have seen our Model Cascading with VLMs demo at a recent tradeshow or in my colleague Jim Bruges' blog post, where an object detection model spots a model car being placed into a diorama of a parking garage, and then triggers an onboard VLM to describe the vehicle.
With AI models, a good dataset is crucial for good results — with our diorama and a couple of toy cars, this was not a huge investment to do, but scaling it up to production-scale is much costlier and challenging so I wanted to explore ways to help with that.
To augment our dataset, I wanted to recreate the same demo environment using synthetic data, and put together a new workflow with some tools that made this fairly easy — 3D creation suite Blender and the amazing 2D-to-3D model called Hunyuan-3D (from Tencent).
Why Use Synthetic Assets?
Synthetic datasets enable controlled and extensive data creation. You can systematically generate different scenarios, lighting conditions, and viewpoints, improving model robustness. Learn about synthetic data in our docs.
Synthetic data generation is becoming invaluable, especially when access to real-world data is limited or impractical. Whether developing an AI model for vehicle detection or another object recognition application, synthetic data allows you to rapidly generate diverse datasets. This improves model robustness and accelerates development.
About Blender
Blender is a powerful, open-source 3D creation suite used for everything from modeling and texturing to rendering and animation. It supports custom add-ons, Python scripting, and a wide range of import/export formats — making it a flexible tool for building synthetic datasets. In this workflow, Blender serves as the environment where assets generated by Hunyuan‑3D can be arranged, lit, and rendered to produce labeled training images.
About Hunyuan-3D
Hunyuan‑3D 2.0 uses AI to generate detailed 3D models from text descriptions or 2D images. It combines state-of-the-art shape generation and texture synthesis to produce high-resolution assets ready for use in Blender or other 3D tools. This means, for example, you can upload a photo of a chair — or just describe one — and get a fully textured, professional-grade 3D model in return.
Tencent has released the code, model weights, a Blender add-on, and a demo interface, all available on GitHub. You can run it locally if you have a capable GPU, or use the hosted version like I have available from Huggingface Spaces. This is free to use, it is also free to use on your own infrastructure, if you run your own version of the model locally or in a cloud service.
Let's explore how to utilize Blender and Hunyuan-3D to create synthetic images that can be used to create datasets for your Edge Impulse projects.
(Get the assets on the following git repository: blender-synthetic-data-scene)

For this walk-through, we'll replicate our physical car diorama demo as well.


Workflow Overview
Generating assets with Hunyuan-3D on Huggingface

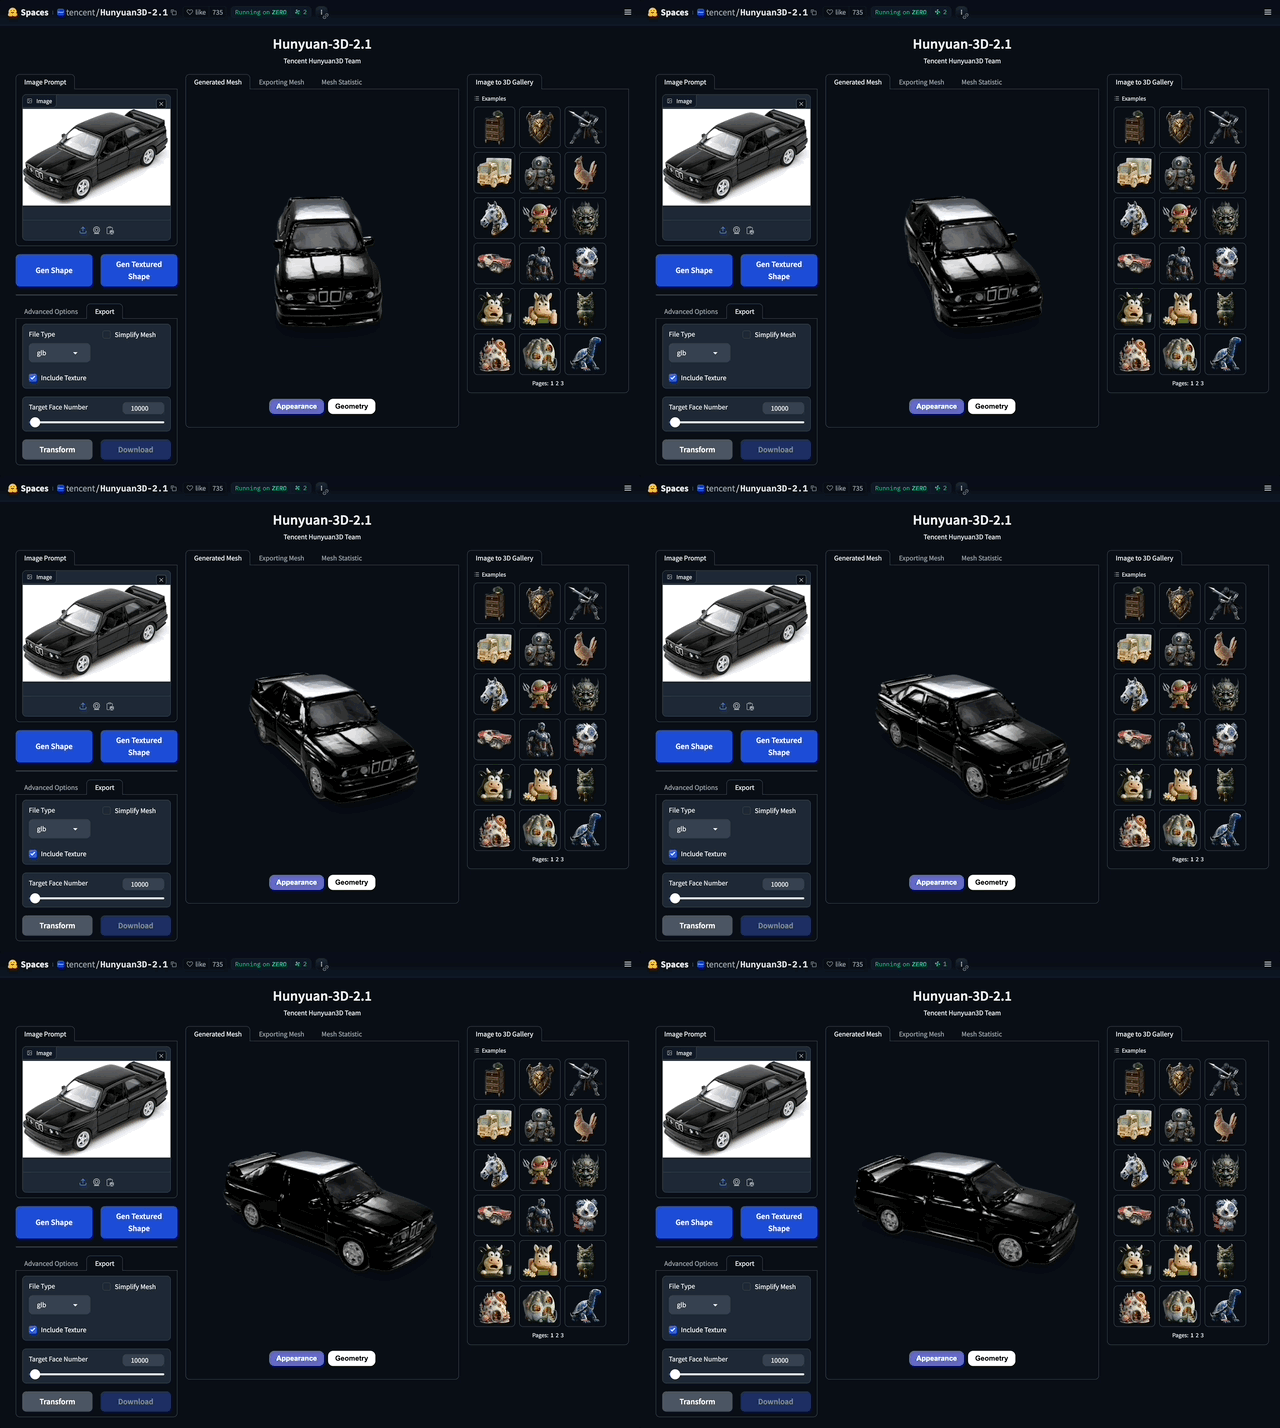
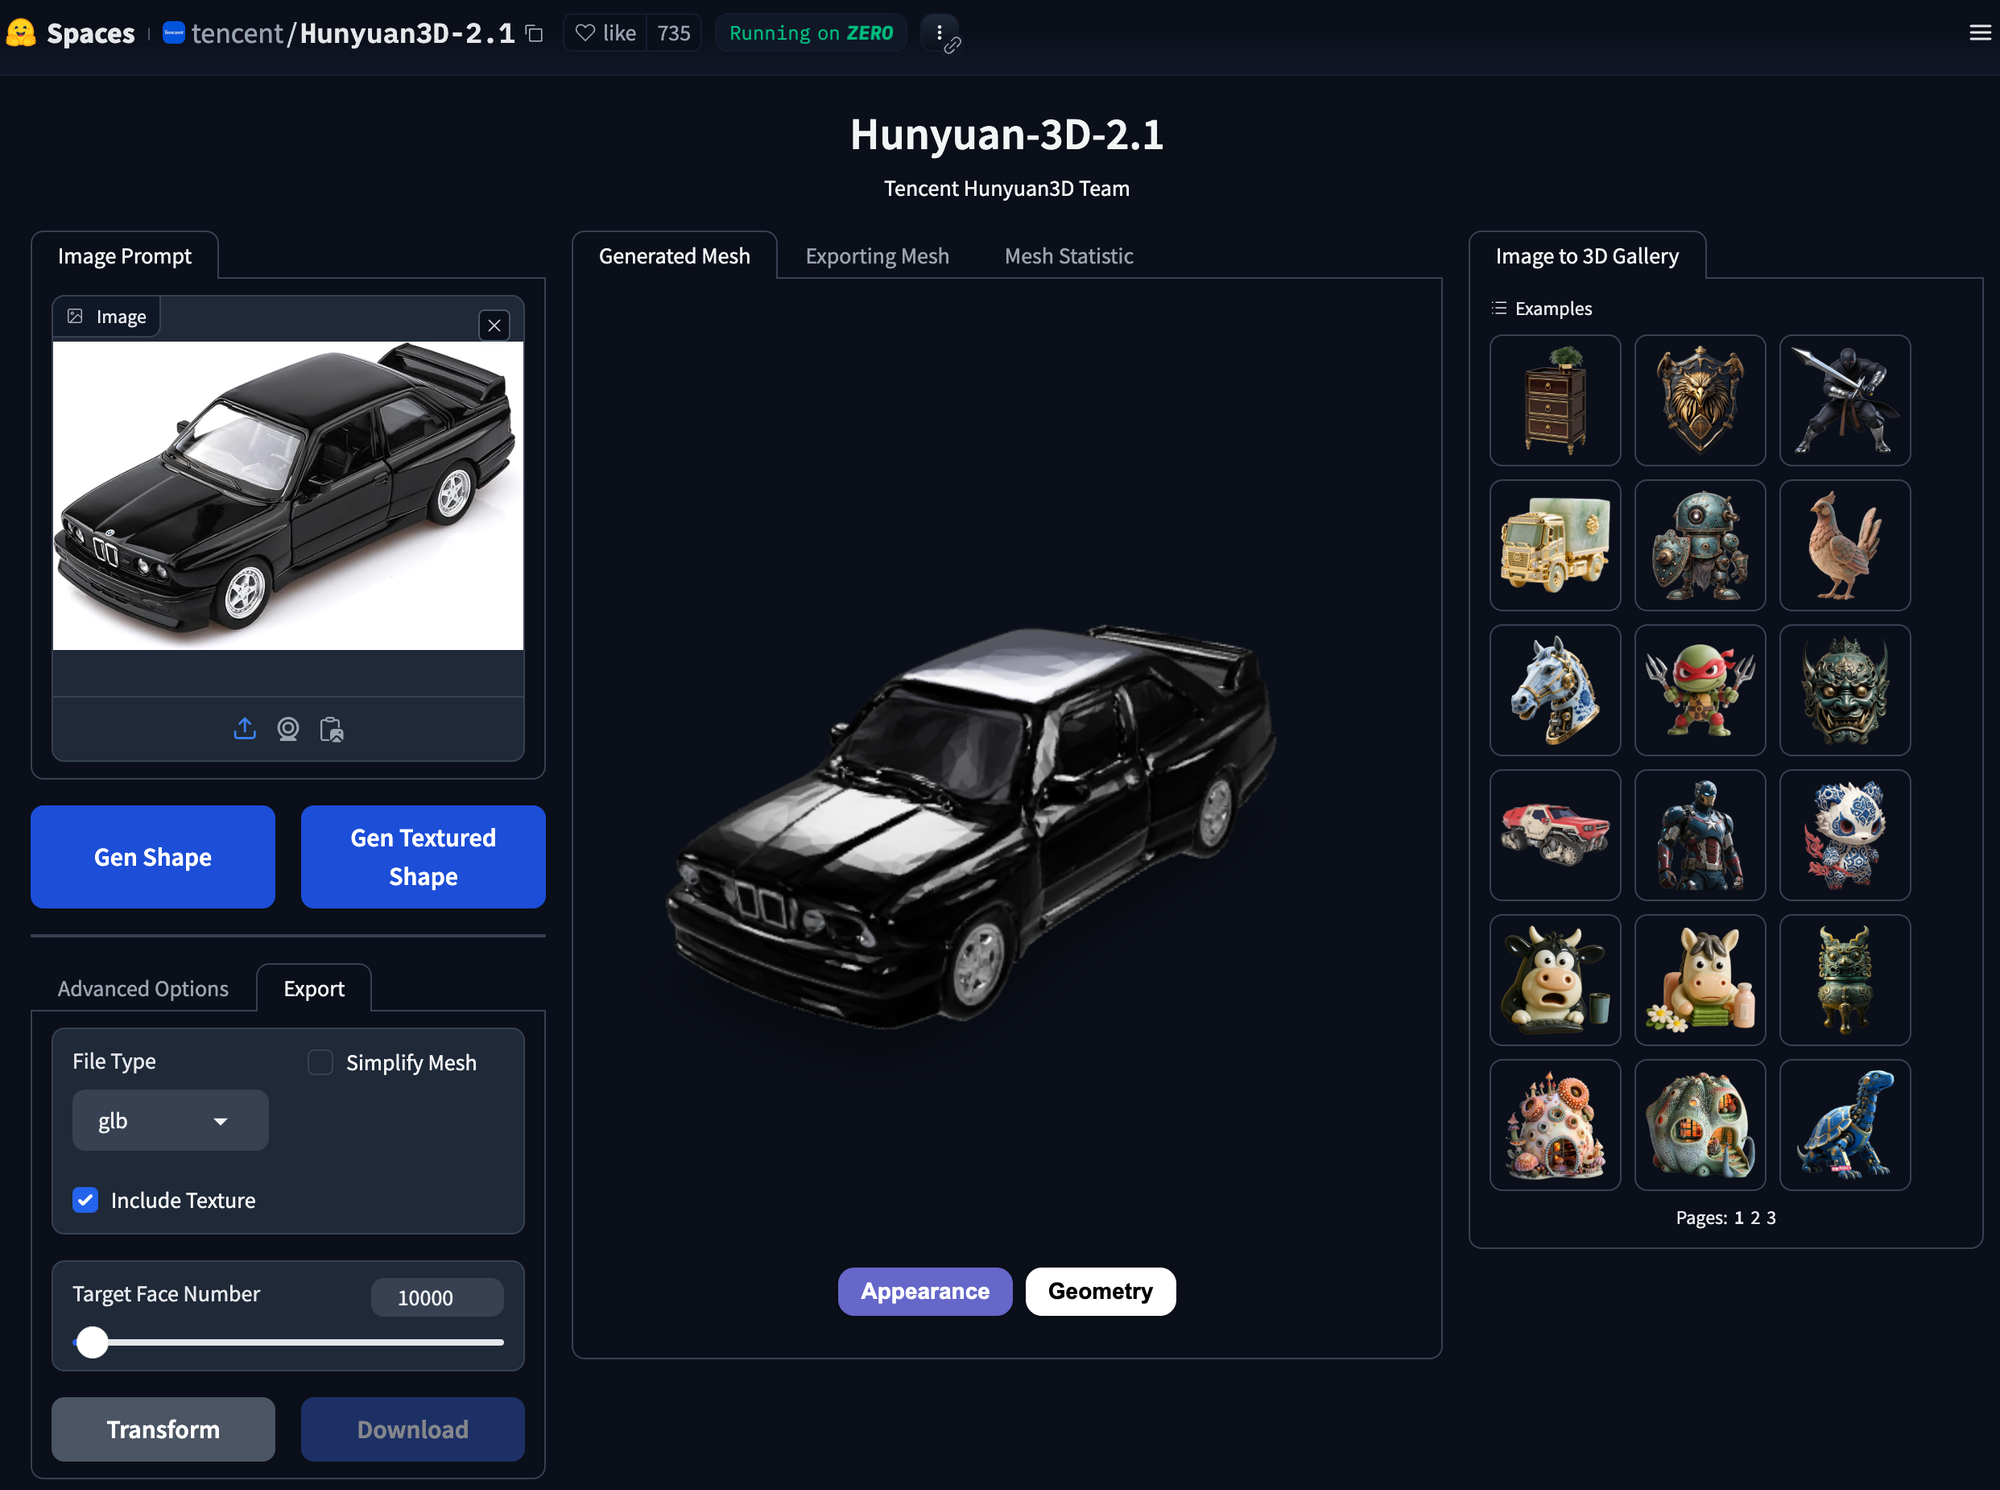
Hunyuan-3D can convert 2D assets into 3D GLB models for Blender. As seen in the above image, all you need to get started is an image of the object to convert.
While it is possible to run the model locally by following Tencents getting started guide, we can also use the free demo service available from Huggingface Spaces.
To get the best results find images of objects in a perspective view, like I have of the black car in the image above. Then, simply upload those found images to Hunyuan-3D and it will create a full, 3D model for you.
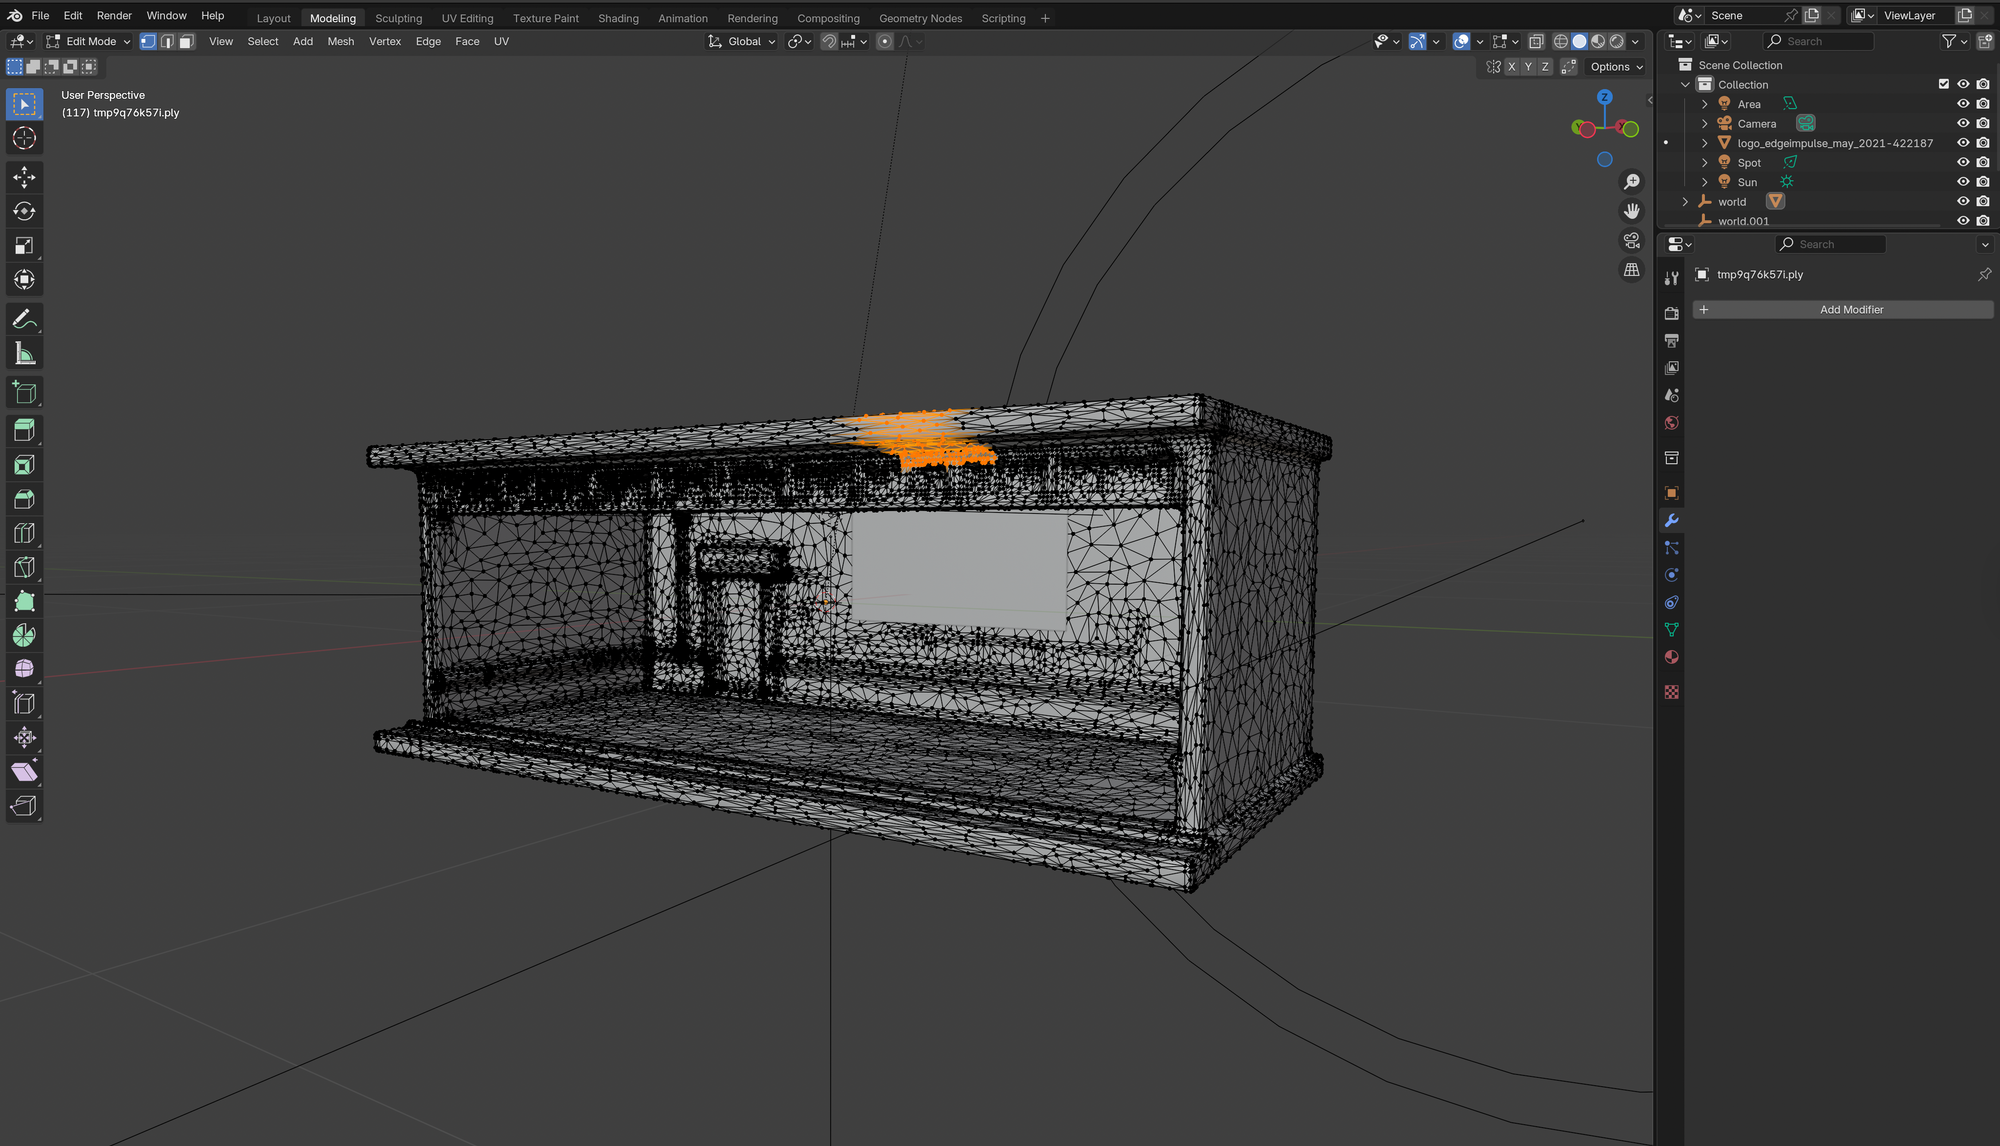
I have generated five cars, and the diorama using this method and control the lighting camera, and car positions within Blender.
- Generate 3D assets from 2D images
- Export GLB files ready for Edge Impulse training
Step 1: Preparing Your Diorama Scene in Blender
Blender is used here to position and light the 3D assets, and we can render final images that will be used to upload to our Edge Impulse project. With Blender it is possible to position the camera, cars and control the lighting, giving us a level of predictable control that can be difficult get with LLMs without deep prompt engineering knowledge
Start by setting up your scene in Blender:

- Lighting and Camera Setup: Adjust lighting to simulate realistic conditions and set your camera angles clearly to capture diverse perspectives of your scene.
Adding Vehicles: Import car models similarly and position them realistically within your diorama:
for car_path in car_paths:
    bpy.ops.import_scene.gltf(filepath=car_path)
Importing the Diorama:
bpy.ops.import_scene.gltf(filepath=diorama_path)Step 2: Automating Image Generation
Automate multiple views using Blender scripting. Here's a simplified script snippet for rotating and rendering your scene from multiple angles:
for frame in range(num_frames):
    angle_deg = (360 / num_frames) * frame
    rotation_empty.rotation_euler[2] = math.radians(angle_deg)
    bpy.context.scene.render.filepath = os.path.join(output_folder, f"render_{frame:03d}.png")
    bpy.ops.render.render(write_still=True)
This process generates a comprehensive synthetic dataset capturing your scene from multiple angles.
Integrating Synthetic Data with Edge Impulse
Upload your annotated dataset into Edge Impulse and train your model. Edge Impulse offers intuitive tools for model training, validation, and deployment directly to your edge devices. The provided screenshots illustrate how effective synthetic data can be in training robust vehicle detection models.
Practical Tips from My Experience
- Start Simple: Use basic shapes and simple setups initially, then increase complexity gradually
- Experiment Frequently: 3D modeling, rendering, and synthetic data generation thrive on iteration
- Reference Images Help: Always use real-world references to improve realism in your synthetic scenes
Putting It All Together
Combining these tools effectively allows creators, hobbyists, and professionals to explore the possibilities of AI-driven applications without extensive access to large-scale real-world datasets. Whether you're prototyping smart city applications, developing products, or just exploring 3D technology, Blender, Hunyuan-3D, and Edge Impulse form a powerful toolset.
Full Script
First, ensure you have Blender installed, along with your diorama and car model files (typically in GLB format).
Use the following script to set up your scene in Blender:
import bpy
import math
import os

# Paths to your diorama and car models
diorama_path = "/path/to/your_diorama.glb"
car_paths = [
    "/path/to/car1.glb",
    "/path/to/car2.glb",
    "/path/to/car3.glb",
    "/path/to/car4.glb",
    "/path/to/car5.glb"
]
output_folder = "/path/to/output/images"

# Clear scene
bpy.ops.object.select_all(action='SELECT')
bpy.ops.object.delete(use_global=False)

# Import diorama
bpy.ops.import_scene.gltf(filepath=diorama_path)

# Import cars
car_objects = []
for car_path in car_paths:
    bpy.ops.import_scene.gltf(filepath=car_path)
    car_objects.extend(bpy.context.selected_objects)

# Position cars
car_radius = 3.0
for i, car_obj in enumerate(car_objects):
    angle = (2 * math.pi / len(car_objects)) * i
    car_obj.location = (car_radius * math.cos(angle), car_radius * math.sin(angle), 0)

# Set up camera
bpy.ops.object.camera_add(location=(0, -8, 3), rotation=(math.radians(75), 0, 0))
bpy.context
With technology advancing rapidly, one thrilling area for creators is 3D scanning, printing, and synthetic data generation. These tools unlock new possibilities for individuals and small teams looking to bring their ideas to life. Today, we'll walk through how you can leverage Blender and Hunyuan-3D to generate synthetic data specifically tailored for Edge Impulse projects, showcasing the diorama demo often featured at our events.
We encourage you to start experimenting, share your results on our forums, and contribute designs for hardware housings or other creative solutions to our community on Thingiverse.
Conclusion
Synthetic data generation is no longer exclusive to large tech companies — it’s accessible to everyone. Leverage Blender and Hunyuan-3D to accelerate your Edge Impulse projects, innovate freely, and push the boundaries of what’s possible. Your creativity is the only limit!
Let us know what you create, and happy modeling!
